Nail Products
How to Apply Press-On Nails: A Step-by-Step Guide for a Beautiful At-Home Manicure
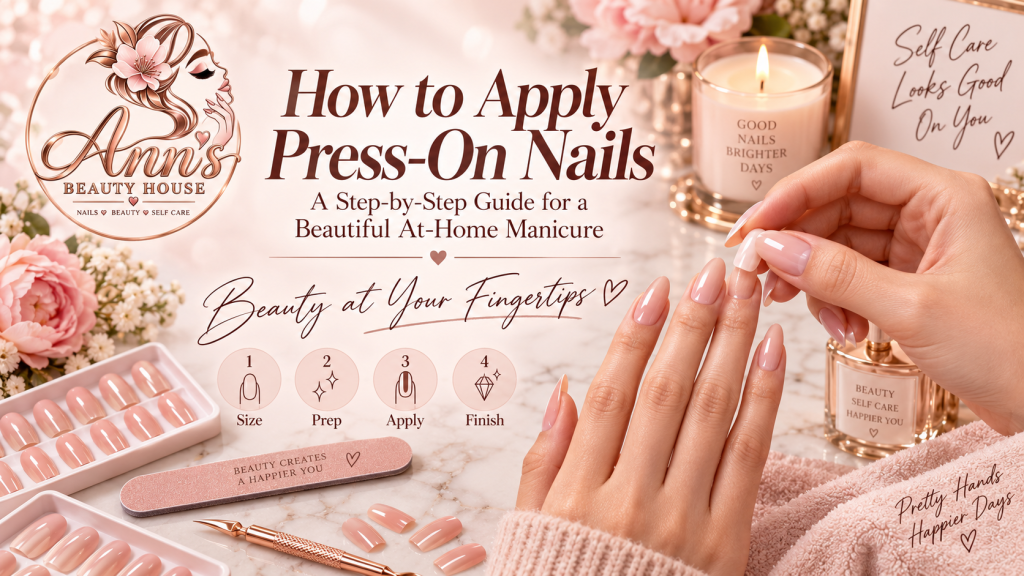
Press-on nails make it easier to create a polished, salon-inspired manicure at home without spending hours painting detailed nail designs.
But the finished result depends on more than simply attaching a nail and moving on.
Proper preparation, choosing the right size, careful application, and good aftercare can all contribute to a cleaner and more natural-looking manicure.
In this guide, Ann’s Beauty House explains how to apply press-on nails step by step, common mistakes to avoid, how to choose the right size and shape, and simple ways to care for your nails after application.
If you are still deciding which style suits you, you can also explore our guide to nail care in Chicago, IL.
What Are Press-On Nails?
Press-on nails are artificial nail tips designed to fit over your natural fingernails.
They are available in different:
- Sizes
- Lengths
- Shapes
- Colors
- Finishes
- Patterns
- Nail-art designs
Modern press-on nails can range from simple nude sets to floral, striped, glitter, jelly-inspired, seasonal, and fashion-focused designs.
This variety makes them useful for people who enjoy changing their manicure based on their outfit, mood, season, or upcoming event.
Ann’s Beauty House currently offers press-on nail sets, toe nail options, and nail-care bundles through its online store.
Browse Nail Sets at Ann’s Beauty House
What Do You Need Before Applying Press-On Nails?
Preparing everything before you begin can make the process easier.
Depending on the press-on system you are using, useful items may include:
- Your press-on nail set
- Nail adhesive appropriate for the product
- Nail file
- Cuticle tool
- Nail-cleaning pad
- Cuticle oil for later care
- Hand moisturizer
- Clean towel
- Nail-care accessories
Always follow the instructions supplied with the specific press-on nail product you purchase, because application and removal methods can vary.
If you want nail-care products together in one set, Ann’s Beauty House currently offers several bundle options, including the Short & Sweet Press-On Nail Bundle and Quick Fix Press-On Nail Care Bundle.
Step 1: Choose the Right Press-On Nail Size
Before applying anything, lay out your press-on nails and match each one to your natural nails.
This step is easy to rush, but selecting the right size can make a major difference in the finished appearance.
A press-on nail should fit your natural nail comfortably without appearing excessively wide.
If you are deciding between sizes, compare both carefully before application rather than attaching the first one that seems close enough.
Lay out all ten nails in order before moving to the next step.
This helps prevent confusion once you begin applying them.
Step 2: Start With Clean, Dry Nails
Clean nails provide a better starting point for application.
Wash and thoroughly dry your hands before you begin.
Your natural nail surface should also be free of obvious dirt, leftover polish, and excess oils.
Avoid applying heavy hand cream or cuticle oil immediately before attaching the press-ons unless your specific product instructions tell you otherwise.
Save moisturizing products for after the manicure is finished.
Step 3: Prepare Your Cuticles Carefully
Neat cuticles can make press-on nails look more natural.
Depending on your normal nail-care routine, gently tidy the cuticle area before applying your nails.
Avoid aggressive cutting or anything that could irritate the surrounding skin.
The goal is simply to create a clean-looking nail area so that the press-on sits neatly near the base of your natural nail.
If your cuticles need more extensive care, consider doing that separately rather than rushing through it during press-on application.
Step 4: Shape Your Natural Nails if Needed
If your natural nails have uneven edges, gently filing them can create a cleaner foundation.
You do not necessarily need extremely short natural nails.
Instead, choose a natural nail length that works comfortably beneath the press-on set you plan to use.
Check the instructions that come with your chosen nails before making major changes to your natural nails.
Step 5: Organize Your Press-On Nails
Before adhesive is involved, arrange your selected press-ons from thumb to pinky.
You can create two rows:
Left hand:
Thumb → Index → Middle → Ring → Pinky
Right hand:
Thumb → Index → Middle → Ring → Pinky
This small preparation step can make application much less stressful.
It also prevents accidentally using a nail intended for the opposite hand or discovering halfway through the manicure that a better-fitting size was available.
Step 6: Apply the Nails According to the Product Instructions
The exact attachment method will depend on the press-on system you purchased.
Follow the instructions supplied with your product carefully.
Work one nail at a time and position each press-on carefully before securing it.
Try to keep the nail straight rather than applying it at an angle.
Once placed, follow the recommended method for securing the nail.
Do not assume that every press-on product uses the same application process.
Step 7: Check the Position Before Moving On
After applying each nail, take a quick look from different angles.
Check whether it appears:
- Straight
- Centered
- Comfortable
- Properly sized
- Consistent with your other nails
Correcting your sizing and positioning decisions during the process is easier than noticing an uneven manicure after all ten nails are finished.
Step 8: Give Your New Manicure Some Attention
Once all the nails are applied, compare the overall shape and appearance.
Look at both hands together.
This is also a good time to make sure each nail feels comfortable.
Avoid immediately putting your hands through unnecessary stress.
Follow any post-application guidance supplied by the manufacturer.
How to Make Press-On Nails Look More Natural
The most natural-looking manicure often comes down to small details.
Choose Accurate Sizes
A nail that looks too wide for your natural nail may appear less realistic.
Take the extra time to compare sizes before applying your set.
Choose a Practical Length
Long nails can look beautiful, but a length that fits your hands and lifestyle often feels more natural.
If you usually wear short nails, starting with an extremely long set may require adjustment.
Pay Attention to Shape
Nail shape affects the entire manicure.
Popular options include:
- Round
- Square
- Oval
- Almond
- Coffin or ballerina
Choose a shape that complements both your hands and your daily routine.
Keep Your Cuticles Looking Neat
A polished cuticle area can make the transition between your natural nail and press-on look cleaner.
Coordinate the Design With Your Style
Natural-looking does not necessarily mean plain.
Floral details, shimmer, stripes, gold accents, and other designs can still feel polished when they complement your overall look.
For a more graphic style, consider Making Headlines Press-On Nails (30PC), which is currently listed among the new arrivals at Ann’s Beauty House.
Common Press-On Nail Mistakes to Avoid
Learning how to apply press-on nails also means knowing what not to do.
Choosing the Wrong Size
A poorly fitting press-on can affect both comfort and appearance.
Match your sizes before beginning.
Rushing Nail Preparation
Starting before your nails are clean and organized can make the process unnecessarily difficult.
Spend a few extra minutes preparing everything first.
Applying Nails at an Angle
Take time to position the press-on so it looks centered and straight.
Using Too Much Product
Follow the specific instructions supplied with your adhesive or nail system.
More product does not automatically mean a better result.
Ignoring Product Instructions
Application systems can differ.
Instructions that work for one set may not be appropriate for another.
Using Your Nails as Tools
After applying a beautiful manicure, avoid using your nails to open cans, scrape labels, pry packaging, or perform similar tasks.
Those activities can put unnecessary pressure on both natural and artificial nails.
How to Care for Press-On Nails After Application
Aftercare matters too.
Treat your manicure with reasonable care during daily activities.
When washing dishes or doing household cleaning, gloves can help reduce unnecessary exposure to water and cleaning products.
Try not to repeatedly tap or press the nail tips against hard surfaces.
You can also continue caring for the surrounding skin and cuticle area as part of your regular beauty routine, following the recommendations for your specific nail system.
For additional nail-care ideas, read our Nail Care in Chicago, IL guide.
How to Choose Press-On Nails for Everyday Wear
For an everyday manicure, think about your routine before choosing a dramatic design.
If you spend much of your day typing or working with your hands, a short or medium-length set may feel more comfortable.
Colors such as:
- Nude
- Blush pink
- Beige
- Milky white
- Soft neutral shades
can coordinate easily with different outfits.
For more personality, try small metallic accents, fine stripes, floral details, or subtle shimmer.
Press-On Nails for Vacations
Vacation is a great time to experiment.
You may want something brighter or more decorative than your usual everyday manicure.
Summer-inspired ideas include:
- Bright pink
- Coral
- Ocean-inspired colors
- Iridescent finishes
- Floral nail art
- Shimmer
- Mermaid-inspired designs
Ann’s Beauty House currently features Summer Siren Press-On Nails (30PC) among its trending products.
A more playful set can become part of your vacation outfit rather than simply an accessory.
Press-On Nails for Weddings and Events
For weddings and formal occasions, softer colors are popular because they coordinate with many outfits.
Consider styles such as:
- Nude
- Pale pink
- Milky white
- French-inspired designs
- Soft shimmer
- Subtle gold details
If you are attending an important event, test your preferred nail length and shape beforehand if possible.
You want your manicure to look beautiful without making you uncomfortable during the event.
What About Press-On Toe Nails?
Press-on styling is not limited to your hands.
Press-on toe nails provide another convenient beauty option when you want a pedicure-inspired appearance.
They can work especially well before:
- Vacations
- Beach trips
- Pool days
- Summer events
- Weddings
- Wearing sandals or open-toe shoes
Ann’s Beauty House currently carries Pinkgasm Press-On Toe Nails (30PC).
Your manicure and pedicure do not need to use exactly the same color.
For example, you can pair nude fingernails with pink toes or decorative nails with a simpler pedicure.
Create a Simple At-Home Nail Routine
Press-on application becomes easier when your nail products stay organized.
Consider keeping a dedicated beauty pouch, drawer, or small organizer containing your favorite sets and nail-care accessories.
Ann’s Beauty House currently lists multiple press-on care bundles, including Hands On Press-On Nail Care Bundle, Finish Me Off Press-On Nail Care Bundle, and Can’t Commit Press-On Nail Care Bundle.
An organized setup can be particularly convenient when preparing for a last-minute event or packing for travel.
When Should You Change Your Press-On Nail Style?
There is no universal schedule.
Some people enjoy changing their manicure frequently simply because they like experimenting with different looks.
Others prefer wearing the same style until they are ready for something new.
The important point is to follow the instructions for your particular nail system, especially when it comes to removal.
Do not forcefully remove press-on nails simply because you are ready for a new color.
Follow the recommended removal process for the product you use.
Find Your Next Nail Look at Ann’s Beauty House
Press-on nails make it possible to explore different nail shapes, colors, and designs without limiting yourself to one look.
You might choose a soft nude manicure for work, floral nails for brunch, shimmer for an evening event, or a colorful set for vacation.
Ann’s Beauty House offers press-on nail designs, toe nails, and nail-care products for customers who enjoy convenient, salon-inspired beauty at home. Its current collection includes nail sets and bundles ranging from everyday options to more playful seasonal styles.
Explore the Ann’s Beauty House Shop
You can also visit:
Ann’s Beauty House
2248 S Canal St #1st
Chicago, IL 60616
United States
Phone: +1 312-598-8878
The website currently lists business hours as Monday through Saturday, 9:30 AM–5:00 PM.
Frequently Asked Questions About Applying Press-On Nails
How do I apply press-on nails?
Start by selecting the correct sizes and preparing clean, dry natural nails. Organize your nail tips before beginning and then apply each nail according to the instructions provided with the specific press-on system you purchased.
Should I size press-on nails before application?
Yes. Matching all ten press-on nails to your natural nails before starting can make application easier and create a more consistent-looking manicure.
Should I moisturize before applying press-on nails?
Avoid adding products immediately before application unless recommended by the instructions for your particular nail system. You can moisturize your hands and cuticle area as part of your ongoing nail-care routine.
How can I make press-on nails look natural?
Choose accurate sizes, keep your cuticle area neat, select an appropriate length and shape, and carefully center each nail during application.
Can I use press-on nails for a wedding?
Yes. Soft pink, nude, milky white, French-inspired, shimmer, and subtle gold designs can complement many wedding and formal-event outfits.
Can I use press-on nails on my toes?
Press-on toe nail products are available for customers who want an alternative way to create a polished pedicure-inspired look.
How should I remove press-on nails?
Always follow the removal instructions supplied with your specific nail product. Avoid forceful removal, which can place unnecessary stress on the natural nail.
